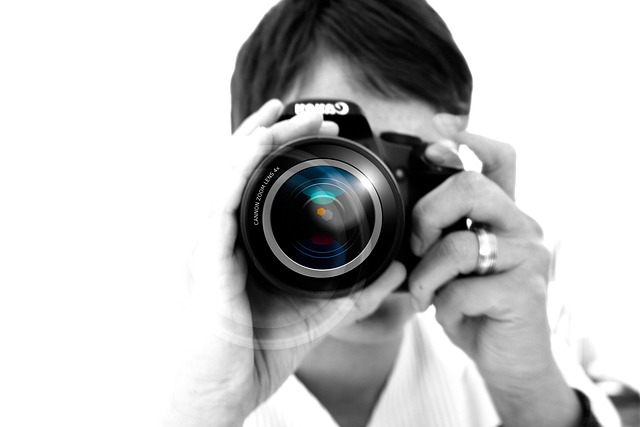
Every photographer knows that capturing the perfect image requires a keen eye, the right lighting, and, most importantly, a steady hand. However, even the most skilled artists can be betrayed by shaky hands or sudden movements, which is where the magic of Image Stabilization comes into play. If you’ve ever struggled to get that perfect shot due to blurriness or motion, you’re not alone! This guide will help you understand how to master Image Stabilization, transforming your photography experience.
Understanding Image Stabilization
Before diving into the tech behind it, let’s discuss what Image Stabilization really means. It’s a vital feature in modern optics designed to reduce blurriness caused by hand movement or camera shake. This capability not only enhances the quality of your photos but also expands your creative horizons, allowing you to experiment with various angles and movements without the fear of ruining a shot.
The Types of Image Stabilization
When it comes to Image Stabilization, there are generally two types: Optical and Digital. Optical stabilization is usually found in the lens and utilizes specialized elements to counteract hand movements. This means that as you frame your shot, the lens compensates for any shake in real time, resulting in crisp and clear images.
On the other hand, digital stabilization is more about software. It works by cropping the images slightly to counteract movement—this means some quality is sacrificed for stabilization, but it can still be incredibly effective in many situations.
Choosing the Right Lens
As a lens wizard, one of the most important decisions you’ll make is choosing the right lens equipped with the best Image Stabilization capabilities. Look for lenses specifically engineered for your camera’s brand, as this ensures compatibility and optimization. High-end lenses often boast advanced stabilization options that can elevate your photography to new heights.
Practical Tips for Better Photos
- Use a Tripod: Sometimes, the best way to stabilize your camera is with a sturdy tripod. This is especially true in low-light conditions where longer shutter speeds are necessary.
- Know When to Disable Stabilization: While Image Stabilization is generally beneficial, there are times—like when using a tripod—where it can actually introduce unwanted blur. Always assess your situation.
- Practice Good Posture: Your positioning matters! Standing with your feet shoulder-width apart, holding your camera close to your body, and using both hands can significantly decrease camera shake.
Experimenting with Angles
Once you’ve got a decent grasp of your lens’s Image Stabilization features, don’t be afraid to experiment with different angles and perspectives. The beauty of photography lies in capturing what the human eye often misses. With stabilization in your corner, you can get creative without worrying about shaky images.
The Value of Patience
Finally, as with any artistic pursuit, patience is key. Mastering your camera’s capabilities, understanding its optics, and learning how to effectively use Image Stabilization takes time. So don’t rush the process—enjoy each shot, learn from every experience, and watch as your photos evolve dramatically over time.