Photography is more than just capturing an image; it’s about translating a moment into art. Whether you’re a seasoned photographer or just getting started, understanding how to create a perfect printing profile can elevate your work to new heights, especially when it comes to lighting shots. The right printing profile ensures that the nuances of light captured by your camera are beautifully translated onto paper, embodying the essence of your photographic vision.
Understanding the Importance of a Printing Profile
A printing profile acts as a bridge between your camera’s digital output and the physical print. Imagine the incredible lighting effects you’ve captured through your lens: golden hour glows, soft shadows, or dynamic contrasts. All these details can often be lost if your printing profile isn’t optimized. By tailoring your printing settings according to the specific characteristics of the paper, ink, and printer you are using, you can ensure that every hue and shade shines just as you envisioned it.
Choosing the Right Paper
Different types of paper absorb and reflect light differently, influencing the final output of your print. Glossy paper enhances vibrancy and depth, while matte options can give a more subdued, classic feel. Experimenting with various papers will not only help you discover what best suits your lighting shots but will also allow you to master how your camera’s optics interact with various surfaces. Each type holds a distinct personality that can greatly affect how light appears in the final image.
Optimizing Camera Settings for Prints
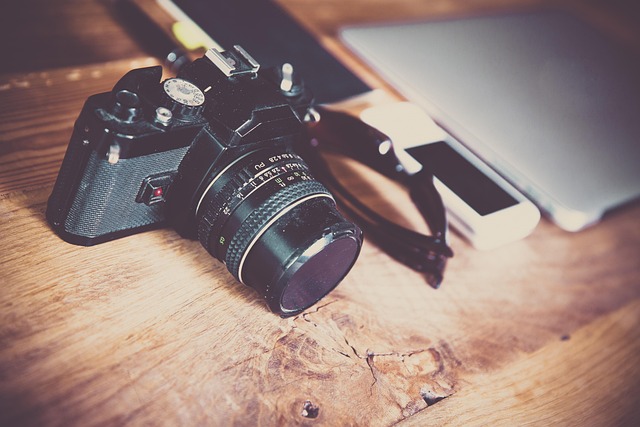
Before even thinking about the printing profile, start with your camera settings. Pay close attention to exposure, ISO, aperture, and white balance. The better your original photo is in terms of clarity and lighting, the easier it will be to maintain that quality when creating your printing profile. Invest in learning about color calibration tools; these can help ensure that what you see on your camera’s display matches the colors in your prints.
Creating a Custom Printing Profile
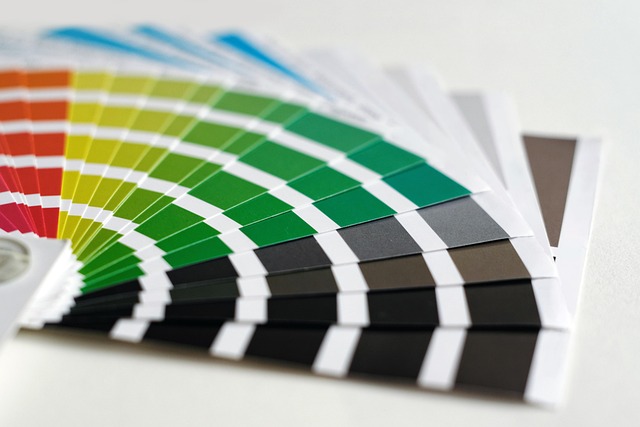
To create a custom printing profile, you’ll need access to color calibration software and a color checker. This process helps in accurately mapping the color spaces of your camera and printer. First, take a test print using a color test chart, and then analyze the results. Adjust your printer settings according to the discrepancies found—this could mean changing ink density, adjusting contrast or brightness levels. This custom profile will then serve to deliver prints true to what you captured through your optics.
Experimenting with Light
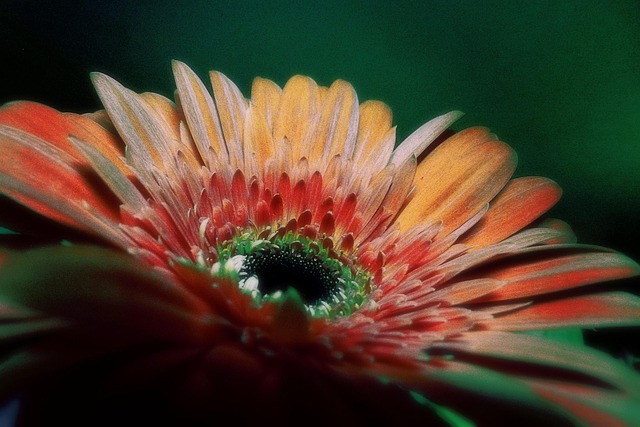
When it comes to lighting shots, experimentation is key. Lighting can completely change the mood and tone of your photographs. Explore different times of the day, or play with artificial lighting setups. Each variation will bring out different colors and shadows that your printing profile must be able to replicate. Use your camera to its full potential by understanding how its settings affect the way light interacts with your subjects.
In summary, mastering your printing profile means taking a holistic approach—to your camera settings, your choice of paper, and your understanding of light. Every shot you take is a step towards honing your craft, resulting in prints that not only capture moments but also convey emotions. Investing time in optimizing your photography gear and techniques will inevitably lead to stunning prints that you can proudly showcase.