Unlocking the Art of Portrait Exposure: A Comprehensive Guide
When it comes to capturing portraits, exposure is not just a technical necessity; it’s an expressive tool that can breathe life into your images. The way you manipulate exposure can impact the mood, story, and emotional connection of a portrait. Whether you’re photographing a loved one or a complete stranger, understanding how to master exposure in portrait photography can help you create stunning and evocative images that resonate with your audience.
The Essence of Exposure in Portrait Photography
Every photographer knows that a well-exposed portrait can make a world of difference. Exposure essentially refers to the amount of light that hits the camera sensor, directly influencing how light or dark your image appears. However, in portrait photography, it transcends mere technicalities and becomes integral to conveying emotion and depth.
The Exposure Triangle
To grasp the nuances of portrait exposure, one must first understand the exposure triangle: aperture, shutter speed, and ISO. Each component plays a vital role in shaping your portrait’s final outcome.
- Aperture: The f-stop number determines how much light enters your lens. A lower f-stop (like f/1.8) allows more light in, creating a soft, blurred background that emphasizes your subject. Conversely, a higher f-stop (like f/8) sharpens the entire frame but can work against that dreamy portrait look.
- Shutter Speed: This dictates how long your camera’s shutter is open, affecting how motion appears in your image. For portraits, a shutter speed of 1/125s is often a good starter, ensuring you capture sharp images, especially when working with naturally spontaneous moments.
- ISO: Playing with ISO sensitivity allows you to adjust for low-light conditions without sacrificing shutter speed or aperture. However, be cautious—higher ISO can lead to noise, which may detract from the clarity of your portrait.
Natural Light vs. Artificial Light
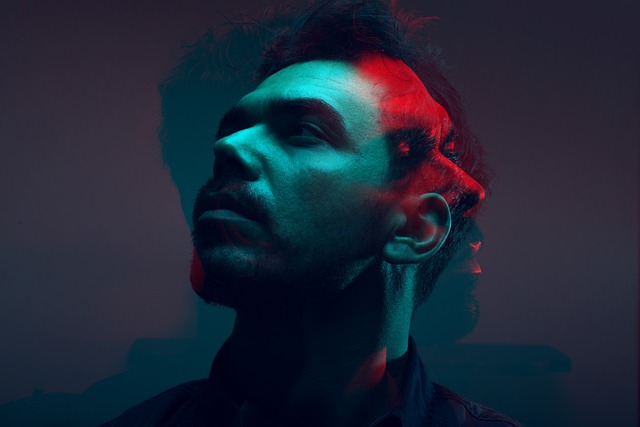
Your choice of lighting will also significantly influence the exposure and overall feel of your portrait. Natural light, especially during golden hour, bathes your subject in a warm glow, providing clarity and texture. However, it can also present challenges, such as harsh shadows and overexposure. Experimenting with backlighting or rim lighting can yield dramatic and beautiful effects if done thoughtfully.
On the other hand, artificial lighting, like softboxes or speedlights, offers more control over your exposure settings. Soft diffused light can help emphasize your subject’s features, creating a luminous quality that captivates viewers. Mastering the use of both natural and artificial lighting allows you to adapt your approach based on the environment and story you’re telling.
Metering Modes: Your Exposure Companion
The camera’s metering system evaluates the scene’s brightness and helps determine the exposure settings. Different metering modes (evaluative, center-weighted, and spot metering) provide varying advantages based on your subject and surroundings. Understanding each mode can prevent common pitfalls like overexposed highlights or underexposed shadows while ensuring your portraits remain balanced and engaging.
Post-Processing: Fine-Tuning Your Portraits
Even with all the right settings, a little post-processing can elevate your portraits to new heights. Tools like Adobe Lightroom or Photoshop allow photographers to make adjustments to exposure, contrast, highlights, and shadows. Fine-tuning these elements can help evoke the desired emotion and enhance the storytelling aspect of your portraits.
Remember, mastering portrait exposure is an art that requires practice and experimentation. Don’t be afraid to break the rules and find your own voice. Each session is an opportunity to learn and refine your approach, ultimately leading to portraits that not only capture faces but also touch hearts.


