Mastering Light Measurement: A Guide for Photographers
For photographers, light is more than just a component of photography; it’s the soul of every image. Understanding light measurement can be the difference between a stunning photograph and one that falls flat. Whether you’re capturing the golden hour glow or the stark contrasts of a shadowy alley, mastering how to measure light is essential for creating captivating visuals.
The Dance of Light and Photography
Photography, in its essence, is an art form that relies heavily on the manipulation of light. When you pick up your camera, you dive into a world where light interacts with optics to create beautiful compositions. The first step in this creative expedition is understanding how to measure that light correctly, allowing you to convey the emotion and atmosphere you desire in your shots.
Understanding Light Metering
At the heart of effective light measurement is the camera’s light meter. This tool assesses the amount of light in a scene and suggests the appropriate exposure settings. But relying solely on the camera’s automatic settings can lead to missed opportunities; the more you understand how to interpret these readings and make adjustments, the better your photographs will become.
Types of Light Meters
- In-camera Metering: Most modern cameras come with built-in light meters that measure reflected light. While convenient, understanding how to read each mode (evaluative, center-weighted, spot) can help you achieve more precise results.
- Handheld Meters: For the more serious photographer looking to achieve ultimate control, a handheld light meter can provide accurate readings. These meters can measure both incident and reflected light, giving you the flexibility needed to refine your exposure settings.
Exposure Triangle: The Balance of Light
Once you’ve grasped the basics of light measurement, you enter the realm of the exposure triangle: aperture, shutter speed, and ISO. These three elements work together to dictate how light affects your image. A wide aperture (low f-stop) allows more light, a slow shutter speed captures movement within that light, and adjusting the ISO impacts your camera’s sensitivity to light.
Mastering these settings not only helps you get the correct exposure but also allows you to experiment creatively. For instance, consider low light environments where you might want to open your aperture wider or increase the ISO while managing motion through shutter speed.
Creative Use of Light Measurement
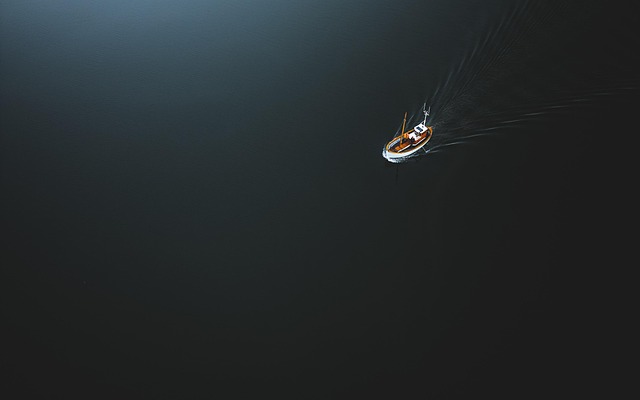
Understanding light measurement also opens doors to creative possibilities. Play with backlighting to create silhouettes, use harsh shadows for dramatic effect, or adjust your readings to overexpose your images for an ethereal feel. The key is to experiment and find what resonates with your artistic vision.
Practical Tips for Light Measurement
- Practice Makes Perfect: Take your camera out in various lighting conditions to see how changes affect your photos.
- Learn to Trust Your Instincts: After time and practice, you’ll develop a knack for anticipating how light will interact with your subject.
- Use Histograms: Always check your histogram to ensure you’re getting the exposure you want. It provides a visual representation of where your light falls across your image.
By embracing the intricacies of light measurement and understanding its fundamental role in photography, you can elevate your work, creating images that not only capture moments but also evoke feelings and tell stories. So grab your camera, step into the light, and start experimenting with the magic that unfolds through the lens!