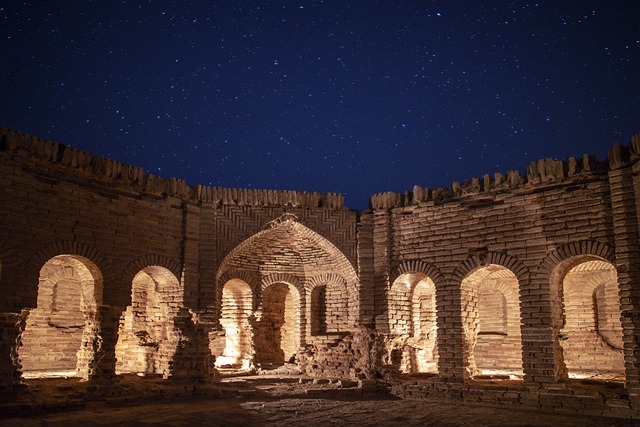
Understanding Night Photography
Night photography opens up a world of stunning visual opportunities, transforming ordinary scenes into captivating moments under the stars. This unique form of photography requires a different approach compared to daytime shoots, where light is abundant. The challenge lies in capturing the beauty of the night using your camera and its optics to create mesmerizing images that evoke emotion and wonder.
The Importance of Camera Settings
To master night photography, understanding your camera settings is essential. Utilize a high ISO setting to increase the camera’s sensitivity to light, but be mindful of noise that can creep in at higher values. Typically, an ISO range of 800 to 3200 will yield good results. Experiment with longer exposures to capture more light; use a shutter speed of several seconds to properly expose your image.
Choosing the Right Lens
The optics you use play a vital role in night photography. A fast lens with a wide aperture (f/2.8 or lower) allows more light to hit the sensor, giving you greater flexibility in low-light conditions. Prime lenses can also provide better sharpness and image quality. If you have a zoom lens, it’s helpful to use the lower end of the range for better light capture.
Utilizing Tripods for Stability
One of the golden rules in night photography is to keep your camera stable. Handholding during long exposures can lead to motion blur, so investing in a sturdy tripod is crucial. This will ensure sharp images and allow for longer shutter speeds without compromising clarity. If you don’t have a tripod, try resting your camera on a stable surface to achieve similar stability.
Composition Techniques
When shooting at night, pay special attention to your composition. Use leading lines or interesting foreground elements to draw the viewer into the scene. Including elements like city lights, the moon, or stars can add depth and interest to your photos. Always remember to check the horizon line; keeping it straight is vital for a polished final image.
Light Sources and What to Avoid
Artificial light sources can drastically change the way a scene looks at night. Street lamps, car headlights, and neon signs should be incorporated creatively, as they can enhance your photo’s mood. However, be cautious of overexposure from bright lights; using smaller apertures helps maintain details in your subject while controlling highlights.
Post-Processing Night Photography
Editing plays a significant role in night photography. Programs like Adobe Lightroom and Photoshop allow photographers to adjust exposure, contrast, and sharpness, elevating a good photo into a stunning piece of art. Increase clarity and reduce noise to enhance the overall aesthetic without making your images look artificial. Remember, the goal is to maintain the feeling and atmosphere of the night.
Practice Makes Perfect
Mastering night photography takes patience and practice. Venture out during different evenings to fine-tune your skills. Experiment with various settings, compositions, and locations. Over time, you’ll develop your unique style that captures the magic of the night, allowing your images to tell a story that resonates with others.


