Mastering Lens Deviation Correction for Crystal-Clear Photography
Photography is an art form where precision meets creativity. Whether you’re capturing sweeping landscapes or intricate details, every photographer knows how crucial it is to achieve crystal-clear images. But as many enthusiasts discover, even the best cameras and lenses can sometimes betray us with subtle imperfections. One such subtle yet impactful challenge is lens deviation, and understanding deviation correction is key to unlocking your camera’s full potential.
What is Lens Deviation and Why Does It Matter?
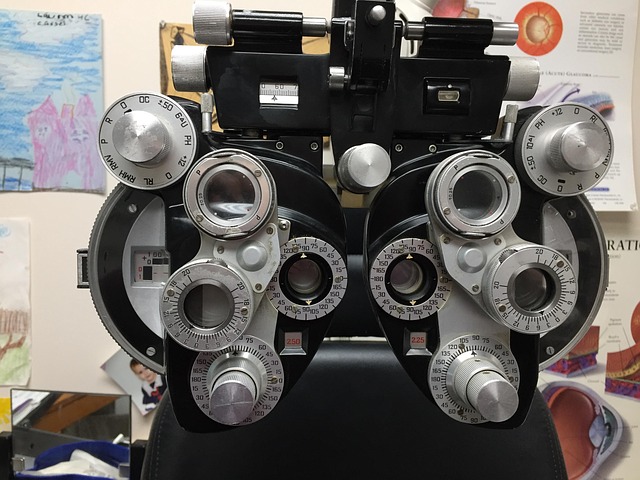
In the realm of optics and photography, deviation refers to the misalignment or distortions that occur when light passes through a lens system. These deviations can manifest as blurring, chromatic aberrations, or uneven focus across your photo. Such imperfections can compromise the sharpness, color accuracy, and clarity that every photographer strives for.
When you’re behind the camera, aiming for that perfect shot, lens deviation might not be immediately visible on the small camera screen. However, when you view your photos in full size or print them, these subtle errors can drastically reduce the quality of your work, interfering with the essence of your photography.
How Deviation Correction Enhances Photography
Deviation correction is all about compensating for and minimizing these optical errors through various techniques and tools—whether digitally in post-processing software or optically through lens design and camera settings. Applying deviation correction:
- Restores Sharpness: Corrects blurring caused by lens misalignment, resulting in sharper photos.
- Eliminates Chromatic Aberrations: Reduces the color fringing around high-contrast edges, enhancing color fidelity.
- Balances Focus: Ensures even focus across the image, preventing parts of your photo from appearing soft or distorted.
Practical Tips for Photographers
Here are some actionable steps to incorporate deviation correction into your photographic workflow:
- Calibrate Your Camera and Lens: Regular calibration helps identify any mechanical deviations and align your lens for optimum performance.
- Use Lens Correction Profiles: Popular editing software like Adobe Lightroom or Photoshop includes profiles for many lenses that automatically correct optical deviations.
- Employ High-Quality Optics: Investing in quality lenses built with advanced optical elements can reduce deviation naturally.
- Test Your Gear: Regularly shooting test patterns or charts can help detect specific deviations and allow you to apply the right correction.
- Understand Your Camera’s Settings: Some cameras feature built-in deviation correction settings; familiarize yourself with these to see if they suit your needs.
Embrace the Science Behind the Art
Photography isn’t just about the moment—it’s also about science. Optics and the physics of light play a pivotal role in how your photos come out. By learning to master deviation correction, you become more than a casual shooter; you become a photographer deeply connected to your tools and craft.
In the end, deviation correction is about embracing perfection in an imperfect world. Your camera and lens are your instruments—fine-tuning them through deviation correction transforms your photography, letting your vision shine through with unmatched clarity and emotion.