Every lens is a delicate optical instrument that translates the world into light for your camera sensor. Whether you shoot weddings, wildlife, landscapes, or street scenes, the clarity of your images depends on how well your lenses stay clean and free of damage. Proper lens maintenance is more than a routine; it’s an investment in the longevity of your gear and the quality of your photos. In this guide we walk through the practical steps, tools, and habits that keep your optics in peak condition.
The Crucial Role of Lens Maintenance in Photography
Lens maintenance goes beyond simply wiping away fingerprints. Over time, dust, oil, and environmental contaminants can accumulate on the front element, inside the lens assembly, and on the aperture blades. These particles scatter light, reduce contrast, and introduce flare or haze into your images. By keeping lenses well cared for, you preserve sharpness, color fidelity, and overall optical performance. Photographers who neglect maintenance often find that what was once a crisp portrait turns into a soft, muddy image—something that can be avoided with a few careful practices.
Common Issues That Affect Lens Performance
- Dust and grit: Tiny particles settle on the front glass, creating visible specks or softening edges.
- Oil from skin: Fingerprints leave a greasy film that is hard to remove and can degrade over time.
- Moisture damage: Condensation inside a lens can cause internal haze, mold, or corrosion.
- Physical scratches: Rough handling or improper cleaning can scratch the lens coatings, altering light transmission.
- Loose or damaged seals: Weather-sealing gaskets that wear out can let in dust, moisture, or wind, compromising lens integrity.
Essential Cleaning Tools for Lens Maintenance
Investing in high‑quality cleaning supplies is the first step to protecting your optics. Below are the items every photographer should keep on hand:
- Lens cleaning fluid: A camera‑grade solvent that dissolves dust without damaging coatings.
- Breath‑cleaning paper: Soft, lint‑free tissue that removes particles with a single pass.
- Soft microfiber cloth: Ideal for wiping without scratching.
- Compressed air canister: Used for blowing loose dust from crevices and the inside of the lens barrel.
- Lens brush: A soft‑bristle brush designed to dislodge fine dust from the front element.
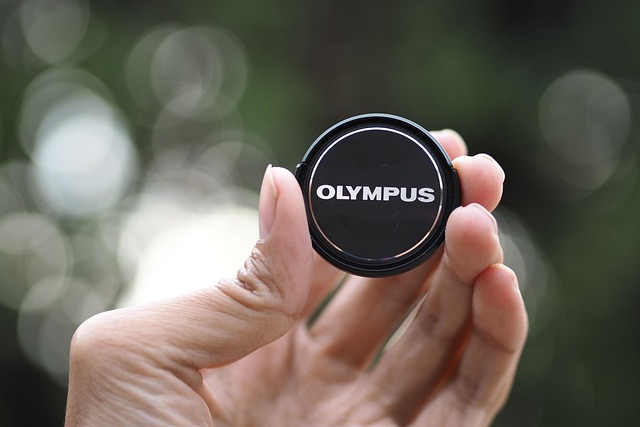
- Cleaning cap or hood: Protects the front glass when not in use.
Step‑by‑Step Lens Cleaning Procedure
Follow these steps to keep your lenses pristine while preventing damage:
- Power off and disconnect: Turn off the camera and remove the lens to avoid accidental damage or electrical issues.
- Remove loose dust: Use the compressed air canister to blow dust from the front element and the lens barrel. Avoid blowing directly onto the glass to prevent moisture from condensing.
- Gentle brush sweep: Lightly brush the front element with a lens brush to lift fine particles. Use a single direction to avoid scratching.
- Apply cleaning fluid: Lightly spray a small amount onto the cleaning paper or microfiber cloth, never onto the lens itself.
- Wipe in one direction: Clean the front element using long, straight strokes from the center outward. Repeat if necessary, but always keep the cloth or paper dry.
- Check for streaks: Inspect the glass under natural light. If streaks remain, reapply cleaning fluid and wipe again.
- Inspect internal seals: Use a flashlight to look for water droplets or dust inside the lens barrel. If any are found, dry them with a microfiber cloth and consider professional inspection.
Dealing with Humidity and Moisture
Moisture is a silent enemy that can quickly turn a clean lens into a cloudy one. In humid environments, condensation often forms inside the lens during temperature shifts. To mitigate this, store lenses in a dehumidifier bag or a sealed container with silica gel packets. When traveling, keep your camera body and lenses in a dry pouch. After exposure in damp conditions, always let the equipment dry in a warm, dry area before cleaning or using it again.
Proper Storage Practices
Storing lenses correctly prevents accidental scratches and maintains seal integrity. Use lens caps or hoods on the front element and a lens sleeve on the rear to protect the glass. Keep lenses in a climate‑controlled bag or case. Avoid stacking heavy gear on top of delicate lenses, and always place them face down or on a padded surface. By following these storage habits, you reduce the need for frequent lens maintenance.
When to Seek Professional Cleaning
If you notice persistent haze, internal dust that cannot be removed with compressed air, or any signs of internal damage, professional cleaning is recommended. Mechanics with experience in optical systems can disassemble the lens, clean each component, and reassemble with precision. This is especially important for high‑end lenses or vintage models where delicate coatings and complex assemblies are involved.
Extra Tips for Long‑Term Lens Care
- Use a cleanroom environment when handling lenses in dusty areas.
- Always use the same cleaning fluid for your specific lens type to avoid coating damage.
- Change lens caps or hoods if they become cloudy or cracked.
- Perform a quick wipe before each session to maintain clarity.
- Keep a spare cleaning kit in your camera bag for on‑the‑go maintenance.
Closing Thoughts on Lens Maintenance
Consistent lens maintenance turns an expensive piece of optical equipment into a reliable partner that delivers stunning images for years. By following the practices outlined above, you’ll preserve your lenses’ sharpness, contrast, and overall performance. Remember that the effort you invest today protects the quality of tomorrow’s photographs, keeping your creative vision crisp and vibrant.