When it comes to photography, lighting is everything. It can make or break a shot. One of the most frequent challenges photographers face is achieving the correct exposure. Regardless of whether you’re shooting landscapes, portraits, or street photography, mastering exposure correction is vital for capturing the perfect image.
Imagine standing in front of a breathtaking sunset, your camera poised to capture the vibrant hues. But when you review the shot, you realize it’s either too dark or overexposed, stripping away the beautiful colors. This common scenario is where the skill of exposure correction comes into play. Understanding and manipulating light can elevate your photography to new heights, allowing you to create stunning images that resonate with viewers.
Exposure correction involves adjusting the amount of light that hits the camera sensor, typically controlled by three key components: aperture, shutter speed, and ISO. These three elements work together to ensure that your photos are neither too bright nor too dark. The aperture controls the size of the lens opening, allowing more or less light to enter the camera; the shutter speed determines how long the sensor is exposed to light; and the ISO measures your camera sensor’s sensitivity to light.
As a photographer, embracing these techniques opens up a world of possibilities. For instance, using a wide aperture can create a beautifully blurred background, allowing your subject to shine. Conversely, employing a slow shutter speed can introduce striking motion blur, capturing the essence of movement in your shots. By experimenting with these settings, you can gain a substantial understanding of how to manipulate light and correct exposure effectively.
In addition to camera settings, understanding the optics involved can significantly impact how you perceive and capture light. Quality lenses can greatly influence exposure correction by allowing more light to enter or provide sharper focus on your intended subject. Investing in high-quality optics not only benefits your exposure correction abilities but also enhances the overall quality of your photographs.
Post-processing also plays a crucial role in exposure correction. Utilizing software programs like Adobe Lightroom or Photoshop grants photographers the freedom to fine-tune their images even after the shutter has clicked. Here, you can adjust brightness, contrast, and highlights/darkness sliders, allowing for drastic changes to your image, bringing it closer to your original vision.
Another critical tip for exposure correction is understanding the histogram. This graphical representation shows the distribution of tones in your image, allowing you to assess whether your photo is properly exposed. Ideally, you want a balanced histogram, with tones spread across the spectrum. If your histogram is skewed to the left, your image is underexposed, while a histogram that leans to the right suggests overexposure. Monitoring this can assist you in making necessary adjustments on the go, ultimately improving your final output.
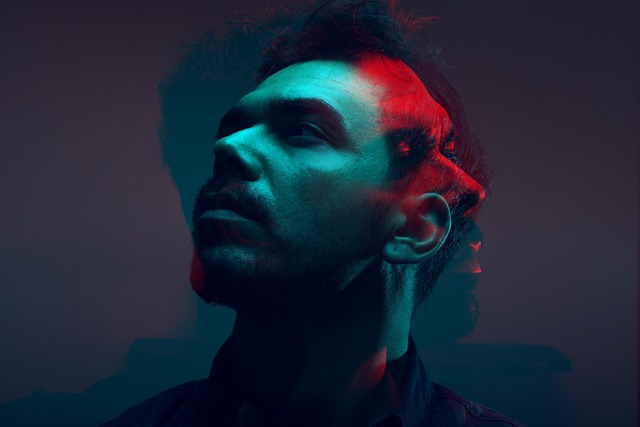
Moreover, natural lighting conditions continuously shift. Shooting in varying light conditions, such as golden hour or harsh midday sun, offers distinct challenges and opportunities for correction. Adapting to these changes is part of the journey to mastering exposure correction. Embrace these variations, and let your creativity shine through by adjusting your settings accordingly.
As you embark on your photographic journey, remember that exposure correction is not merely a technical skill but an art form that reflects your vision and creativity. By combining knowledge of lighting with dexterous handling of your camera settings, you can tell compelling stories through your photographs. Happy shooting!