When it comes to photography, one of the most significant yet often overlooked elements is lighting. Whether you’re a beginner or a seasoned pro, understanding how light interacts with your subject can dramatically elevate your work. This is particularly true when you’re gearing up to capture the delicate beauty of dried flowers, fruits, or even intricate fabrics—elements that can truly shine when accentuated by the right lighting. Let’s delve into how you can maximize your dryer photography by playing with different light sources and settings.
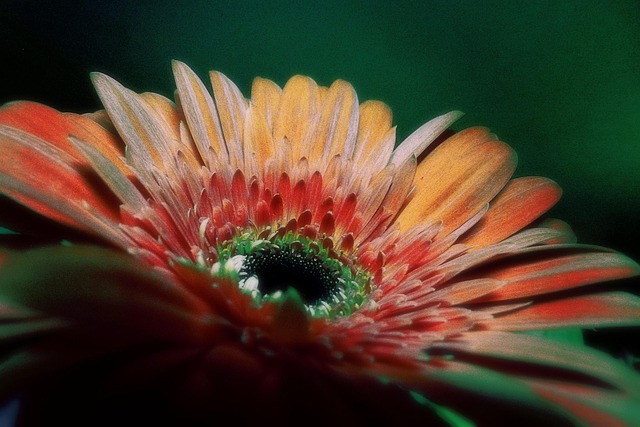
The use of natural light in photography can create stunning tones and shadows, adding depth and dimension to your images. For instance, positioning your dried subjects near a window during the golden hour—that magical period shortly after sunrise or before sunset—can infuse your shots with a warm glow that enhances the organic feel of dried materials. The gentle diffusion of light, thanks to sheer curtains or the natural ripples of the day, creates an inviting atmosphere that draws the viewer in closer.
Moreover, artificial lighting can be utilized to craft a specific mood. Studio lights or softboxes help in evenly distributing light, preventing harsh shadows that can distract from the delicate intricacies of your dried compositions. A well-placed LED light can bring out the textures and colors in your subjects, enriching the visual narrative. Experiment with the angle and distance of your light source to discover various effects. For example, front lighting may reduce shadows, while side lighting can accentuate depth and contrast.
Don’t forget about reflectors! They can be lifesavers for bouncing light back onto your subject, illuminating darker areas without overpowering the gentle hues of the dried elements. A simple piece of white poster board can serve this purpose well, offering an easy and cost-effective solution to control natural light.
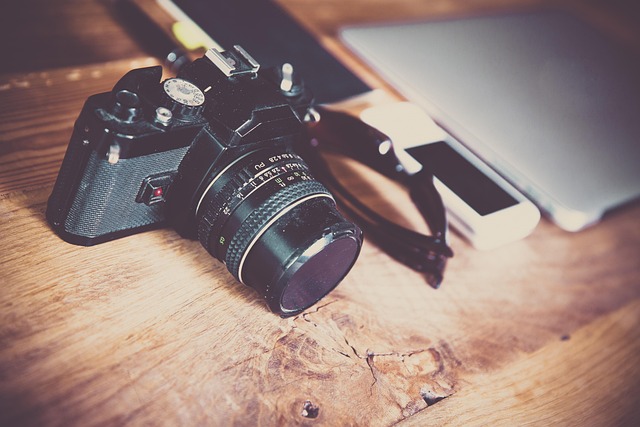
As you frame your shot, consider the optics of your camera. Lenses with higher apertures can create a beautiful depth of field, allowing your primary subject—the dryer—to stand out against a softly blurred background. This technique draws attention while maintaining a sense of artistry. Utilize macro lenses for close-up shots that show intricate details of texture and color, revealing the beauty that lies within the seemingly simple.
Post-processing is another vital aspect that shouldn’t be overlooked. Utilizing editing software can allow you to further manipulate lighting, enhancing your images to bring out the vibrancy of the dried elements. Adjusting saturation, contrast, and highlights can take a good photo to a breathtaking one. With a little patience and creativity, you can craft photos that tell a compelling story about your lightweight subjects.
Finally, remember that capturing the perfect shot is often about experimentation. Don’t hesitate to try different lighting configurations, camera settings, and compositions. The world of dryer photography is as much about the methodical approach as it is about artistic expression. Embrace the learning curve and allow your creativity to guide you in discovering the art of light.