Understanding Studio Flash
As photographers, we know that lighting is the backbone of any great photo. Whether you’re shooting portraits, products, or creative concepts, mastering the art of studio flash can elevate your photography to new heights. The right flash setup not only enhances the details but also evokes the emotions you want to convey through your lenses.
The Basics of Studio Flash
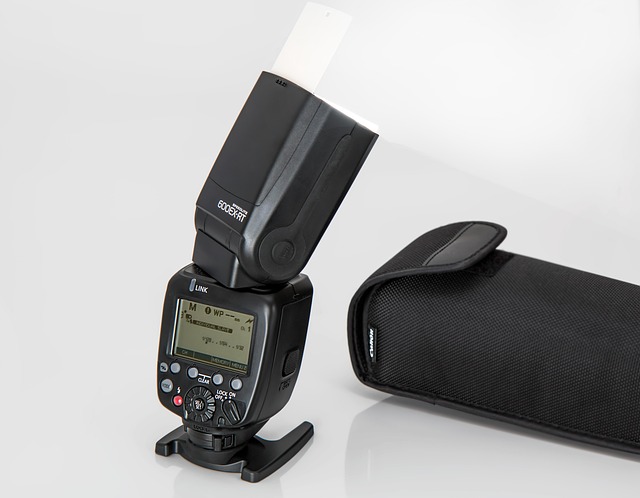
Studio flash units are powerful tools that allow you to create precise lighting conditions. Unlike natural light, which can be unpredictable, studio flash provides consistent results that can be modified to fit your creative vision. Understanding how to manipulate these flashes is essential for any serious photographer.
Choosing the Right Equipment
When it comes to studio flash, one size does not fit all. Different situations require different setups. Investing in quality gear should be your priority. Look for flash heads that offer adjustable power settings, diverse modifiers, and reliable recycling times. Lighting modifiers such as softboxes, umbrellas, and reflectors can drastically change the quality of light and soften harsh shadows. Always keep your camera and optics in mind when making these decisions, as they will play a crucial role in capturing the desired effect.
Mastering Light Placement
One of the key components in utilizing studio flash effectively is understanding light placement. The angle, distance, and direction of your flash can transform the entire mood of the photograph. Experiment with different lighting setups—try shooting with the flash positioned at 45 degrees to your subject for a classic look or directly overhead for dramatic effects. Remember, the interplay between light and shadow is what makes your photos compelling.
Controlling Light with Modifiers
Modifiers are your best friends when working with studio flash. They allow you to control and soften the light, making it more flattering for portraits or enhancing textures in product photography. Softboxes soften and diffuse the light, while umbrellas can create large, spread-out beams that wrap around your subject. Don’t shy away from experimentation—each modifier will yield different results, helping you discover your personal style.
Balancing Ambient and Flash Light
Another essential technique in studio flash photography is learning to balance ambient light with your flash. When you mix flash with existing light, you can create more dynamic images. This approach works particularly well in environmental portraits where you want to retain some of the setting’s atmosphere while ensuring your subject stands out. A good rule of thumb is to set your camera to a slower shutter speed to capture ambient light while using your flash to freeze the action.
Perfecting Your Camera Settings
Your camera settings are vital when using studio flash. Typically, you’ll want to use a lower ISO to minimize noise and allow for richer details in the highlights and shadows. A medium aperture (like f/8) can offer a good balance between depth of field and sharpness, especially when you want to include your background. Don’t forget to keep a close eye on your shutter speed as well, ensuring it is within the sync speed range of your flash to avoid unwanted shadows or black bands in your images.
Practice Makes Perfect
Like any skill, refining your technique with studio flash takes practice. Set up regular sessions in your studio or even at home, experimenting with different subjects and lighting scenarios. Spend time analyzing the results to understand how various setups affect your images. Over time, you’ll develop an instinct for what works and what doesn’t, and your photography will reflect that growth.
By embracing the world of studio flash and understanding its intricacies, you’ll not only improve the quality of your photographs but expand your creative potential. Lighting is not just a technical aspect of photography; it’s an art form in itself. Embrace the learning process, and watch your photography flourish.