In the world of photography, the interplay between light and optics defines the quality of every image. When a photographer learns to manipulate the light source, lens choice, and camera settings as a single, cohesive system, they unlock a powerful photographic trick that transforms ordinary scenes into extraordinary works of art. This article explores the fundamentals of lighting, the role of camera optics, and practical techniques that elevate the everyday shot into a striking visual narrative.
Understanding Light as the Primary Medium
Light is not just illumination; it is a medium that carries information about texture, depth, and emotion. Before any lens or sensor can capture that information, the photographer must first shape the light. Mastering lighting begins with three core concepts: intensity, direction, and quality. Intensity determines how bright or dark an image will be, direction defines the shadows and highlights that give a sense of form, and quality—whether harsh or soft—impacts mood and realism.
- Intensity is controlled through exposure settings and the use of modifiers such as reflectors or diffusers.
- Direction can be altered by repositioning the subject, the light source, or the camera.
- Quality changes with the distance of the light source from the subject and the type of diffuser employed.
Choosing the Right Lens: The First Step in the Light Equation
The lens is the gateway through which light enters the camera body. Different focal lengths and apertures influence how light is captured and how depth of field is managed. Understanding how optics interact with lighting is essential to execute a subtle or dramatic photographic trick.
Prime vs. Zoom: Light and Focus
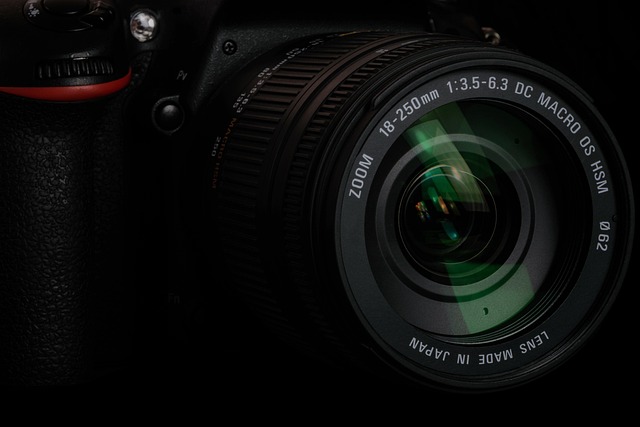
Prime lenses often have wider maximum apertures, allowing more light to reach the sensor. This advantage is critical when shooting in low-light situations or when the photographer wishes to isolate a subject with a shallow depth of field. Zoom lenses offer versatility but can introduce slight optical imperfections; however, many modern zooms maintain excellent performance and are ideal for dynamic lighting conditions.
“The lens is the first tool that decides what light becomes visible. Choose it with the lighting plan in mind.” – Anonymous Studio Master
Exposure Triangle Revisited for Lighting Mastery
The exposure triangle—ISO, shutter speed, and aperture—remains the backbone of all photography. Adjusting these elements in response to lighting changes ensures that the image remains balanced while still achieving the desired creative effect.
- ISO controls sensor sensitivity. Lower ISO values provide cleaner images, whereas higher ISO values are useful for capturing scenes with limited light.
- Shutter speed influences motion blur and light capture. A fast shutter can freeze action but reduces light, whereas a slow shutter increases exposure but may introduce motion blur.
- Aperture affects depth of field and light intake. A wide aperture (small f-number) gathers more light and produces a shallow depth of field, while a narrow aperture (large f-number) increases depth of field and reduces light.
Using Reflectors and Diffusers: Softening and Steering Light
Reflectors and diffusers are essential tools that allow photographers to shape light without altering the source. They are especially useful when natural light is inconsistent or when indoor lighting conditions require adjustment.
Reflectors
Reflectors bounce existing light onto the subject, reducing shadows or adding a highlight. Common reflector materials include silver, gold, white, and black, each producing different tonal qualities.
Diffusers
Diffusers spread light over a wider area, softening harsh shadows. Transparent fabrics, frosted panels, or even simple white sheets can transform a direct sunlight beam into a flattering, even wash.
Backlighting: Creating Haloes and Silhouettes
Backlighting occurs when the primary light source is positioned behind the subject, illuminating the background rather than the front. This technique can produce striking silhouettes, rim lighting, or glowing haloes.
- Silhouettes emphasize shape and form, removing distracting details.
- Rim lighting outlines the subject, giving it a three‑dimensional feel.
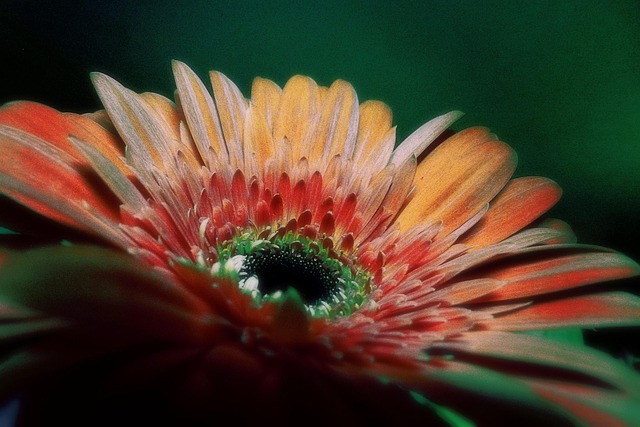
- Glowing haloes create a dreamy atmosphere, often used in portraits and still lifes.
Color Temperature: Tuning Mood Through Light
Every light source has a characteristic color temperature, measured in Kelvin (K). Warm lights (lower Kelvin values) cast yellow or orange hues, while cool lights (higher Kelvin values) lean toward blue. By adjusting white balance or adding color gels, photographers can manipulate mood and realism.
Practical Tips
When shooting outdoors during golden hour, the warm light naturally enhances skin tones. In indoor studio settings, adding a blue gel to a flash can mimic a night‑time effect. Experimenting with color temperature is a powerful photographic trick that can alter the emotional impact of an image.
Creative Lighting Tricks: Beyond the Basics
Once the fundamentals are mastered, photographers can explore more elaborate tricks that push the boundaries of visual storytelling.
- Light Painting – Using a slow shutter speed and a handheld light source to “draw” patterns into the frame.
- Double Exposure in the Field – Capturing two images in one frame by exposing the same film or sensor area twice.
- Forced Perspective – Manipulating lighting to create optical illusion, making objects appear larger or smaller.
- High-Key and Low-Key Lighting – Manipulating exposure to achieve an all-white or all-black image, respectively, for dramatic effect.
Lighting in Different Environments: Indoors vs. Outdoors
Each environment presents unique lighting challenges and opportunities. By understanding how to adapt camera optics and lighting tools, photographers can maintain consistent quality across varied settings.
Indoor
Indoor scenes often rely on artificial light sources. Using continuous LED panels, studio strobes, or natural window light supplemented by reflectors can provide control. A small aperture combined with a high ISO may be necessary in dim settings.
Outdoor
Natural light varies with time of day and weather. Golden hour and blue hour provide flattering, warm light, while midday sun creates high contrast. Using a diffuser or a bounce board helps manage harsh sunlight.
Practical Workflow: From Concept to Capture
A disciplined workflow ensures that lighting and optics are optimized for each shoot. Here’s a step-by-step approach that integrates planning and execution.
- Define the mood and message of the photograph.
- Select the appropriate lens and aperture to control depth of field.
- Analyze the available light and determine the need for modifiers.
- Set ISO, shutter speed, and white balance to match the lighting conditions.
- Test shots: review exposure, color temperature, and composition.
- Adjust as needed: add reflectors, change camera position, or switch lenses.
- Capture the final image, ensuring that the lighting remains consistent across exposures.
Common Mistakes and How to Avoid Them
Even experienced photographers can fall into common pitfalls when manipulating light and optics. Recognizing these mistakes helps refine technique.
- Overexposure from direct flash can wash out detail; use a diffuser or bounce the light.
- Using a wide aperture in a poorly lit environment can result in underexposed images; raise ISO or use a faster lens.
- Ignoring color temperature differences between indoor and outdoor lights can produce unnatural skin tones.
- Failing to test shots can lead to missed opportunities; always review histograms and exposure before proceeding.
Conclusion: The Light–Optics Synergy
Mastering lighting with camera optics is a journey that blends technical understanding with creative intuition. By viewing the lens as an integral part of the lighting equation, photographers can treat each shot as a carefully orchestrated performance. Whether you are illuminating a quiet studio portrait or capturing the dramatic silhouette of a sunset, the principles outlined here provide a roadmap to harnessing light as a powerful photographic trick. Keep experimenting, keep challenging your assumptions, and let the interplay of light and optics guide you toward images that resonate with depth, emotion, and clarity.