Mastering Lens Stability: An In-Depth Guide to Stabilizers
When it comes to capturing that perfect shot, whether you’re a passionate photographer or an aspiring videographer, one challenge constantly stands in the way: unwanted motion. Slight shakes, vibrations, or jittery handheld movements can blur your images and make your footage look unprofessional. Enter the stabilizer — the unsung hero in the world of lens technology that brings clarity and smoothness to your visuals.
Understanding the Role of a Stabilizer
A stabilizer, in the context of lenses, is designed to reduce or eliminate the effects of camera shake. Imagine holding a paintbrush steady while painting a delicate line; any tremor in your hand translates into imperfections. Similarly, when you hold a camera, even minute movements can disrupt the sharpness of your shot. A stabilizer acts like a digital or optical hand, counteracting these movements to keep your lens steady.
This technology is especially crucial for handheld shooting or in low-light conditions where slower shutter speeds are necessary. Without a stabilizer, your images can become blurry, and videos can appear jittery, detracting from the professionalism of your work.
How Stabilizers Enhance Your Lens Performance
Modern lenses equipped with stabilizers utilize gyroscopic sensors to detect motion. Once movement is detected, the system compensates by shifting lens elements or the camera sensor itself, neutralizing the motion before it affects the final image. This means you can confidently shoot at slower shutter speeds without worrying about blur or capture smooth, cinematic video footage without a tripod.
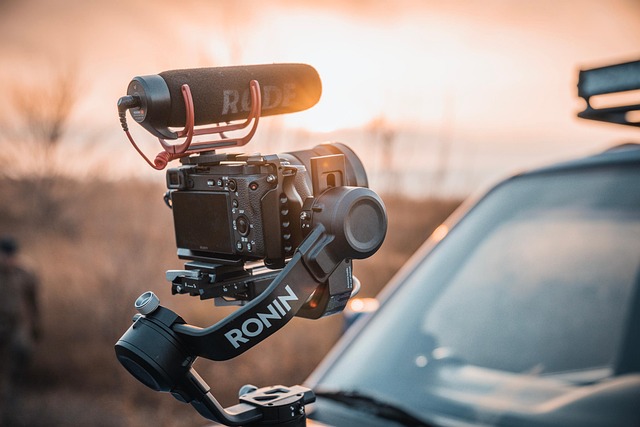
For photographers who love to explore urban environments, wildlife, or shoot in dynamic situations, a stabilizer enhances flexibility, allowing you to respond quickly without the burden of lugging extra equipment like tripods or gimbals.
Choosing the Right Stabilizer for Your Lens
When selecting a lens with built-in stabilization or a compatible stabilizer accessory, consider the following:
- Type of Stabilization: Optical Image Stabilization (OIS) vs In-Body Image Stabilization (IBIS). Some camera systems combine both for superior results.
- Degree of Correction: Check the number of stops the stabilizer can compensate. More stops mean better stability in shakier conditions.
- Compatibility: Ensure your lens or stabilizer is compatible with your camera model to avoid functionality issues.
- Weight and Portability: Some stabilizers add bulk; balance your need for stability with the convenience of your shooting style.
Maximizing Stabilizer Effectiveness in Your Shoots
While stabilizers are incredibly helpful, combining them with proper shooting techniques will take your results to the next level:
- Maintain a steady stance: Balance yourself firmly to minimize body movement.
- Hold the camera close: Support your arms against your body to reduce shake.
- Use a fast shutter speed when possible: Stabilizers assist, but fast shutter speeds help freeze motion.
- Practice smooth panning: When recording video, fluid camera movement complements the stabilizer’s work.
Embracing the power of a stabilizer in your lens arsenal not only boosts the quality of your images and videos but also fuels creativity by giving you the confidence to shoot in diverse, challenging environments. Mastering lens stability is more than just technology—it’s about finding your balance and capturing the world with clarity and finesse.