Mastering Exposure: The Essential Guide to Studio Flash Photography
When stepping into the world of photography, one of the most vital elements to grasp is the concept of exposure. It’s the interplay between light and shadow that can transform an ordinary photo into an extraordinary work of art. For photographers who embark on the journey of studio flash photography, mastering exposure is paramount. Let’s delve into the essence of studio flash, exploring how it shapes your images and elevates your craft.
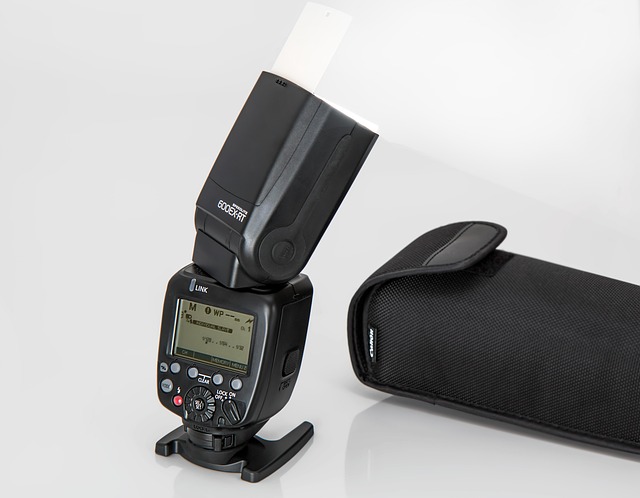
The Power of Studio Flash
Studio flash is not just a light source; it’s a creative tool that allows photographers to manipulate and control light in a way that brings their vision to life. Unlike natural light, studio flash provides consistency and versatility, enabling you to illuminate your subject precisely as you envision. Understanding the mechanics of your studio flash can unlock endless possibilities.
Understanding Exposure in Flash Photography
At its core, exposure involves three fundamental elements: aperture, shutter speed, and ISO. In studio flash photography, these elements work together to create the perfect image. The flash duration generally replaces the need for long shutter speeds, allowing for ‘freezing’ motion while maintaining sharpness. Finding the right balance will help you achieve optimum exposure, thus ensuring your subject stands out against the most dramatic backgrounds.
Camera Settings for Optimal Results
Setting your camera to work seamlessly with your studio flash is crucial. Start with your flash sync speed. Most cameras have a maximum sync speed, typically around 1/200 to 1/250 of a second. Going beyond this can lead to incomplete exposures. Adjust your aperture and ISO settings to accommodate your desired depth of field and noise levels. Remember, a lower ISO keeps images clean, while a wide aperture creates beautiful bokeh effects.
The Role of Optics
Your choice of optics plays a pivotal role in the outcome of your flash photography. Lens selection affects not only the sharpness of the image but also influences how light interacts with your subject. Wide-angle lenses can exaggerate distortions, while telephoto lenses allow for tighter compositions and compressed background elements. It’s essential to select the right lens to complement your artistic intent.
Light Modifiers: The Key to Creativity
Using light modifiers can dramatically alter the character of your studio flash. Softboxes, umbrellas, and reflectors are some of the most popular choices for diffusing light. They soften shadows and create a more flattering illumination on your subject. Conversely, hard light can be achieved through bare flashes or snoots, offering dramatic contrasts and well-defined textures. Experimentation with different modifiers will lead to unique styles and effects, defining your signature look.
Practical Tips for Mastering Exposure
1. Practice with Test Shots: Don’t hesitate to take test shots to assess your lighting setup. Adjust your exposure until you achieve your desired effect.
2. Use a Light Meter: Consider investing in a handheld light meter. This tool can provide precise readings, ensuring your exposure is spot-on.
3. Evaluate and Adjust: Regularly assess the histogram on your camera. A well-balanced histogram will guide you in achieving even exposure, preventing blown highlights or lost shadows.
Whether you are capturing stunning portraits, vibrant product images, or experimental art, mastering exposure with studio flash opens a world of creative opportunities. By understanding and harnessing the power of light, you can elevate your photography to new heights, bringing your artistic visions to fruition.


