Have you ever looked at a photograph and felt that something was just a bit off? Perhaps the straight lines of a building appeared oddly curved or the edges of your subject looked more like waves in the ocean than lines in a frame. This phenomenon, known as distortion, can heavily impact the quality of your shots. But fear not! Today we’re diving into the world of distortion correction, particularly how you can harness the power of lighting to enhance your photography.
When we talk about photography, we often focus on composition, exposure, and focus, but the subtleties of optics should never be overlooked. Distortion can stem from a variety of factors, including the camera lens used, the angle of your shot, and of course, the lighting in the scene. By understanding how these elements interact, you can effectively minimize distortion and create stunning images that feel natural and true to life.
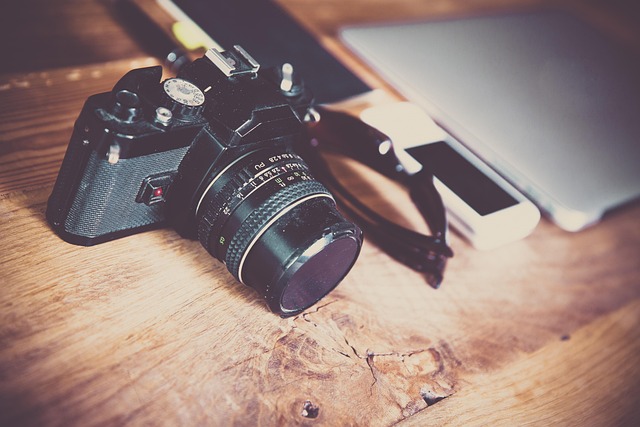
Whether you’re a budding photographer or a seasoned professional, mastering distortion correction is essential. It begins with a solid understanding of your camera and lens. Wide-angle lenses, while great for capturing expansive landscapes, can introduce noticeable barrel distortion. Knowing this upfront allows you to adjust your shooting style, such as stepping back to ensure your subject remains recognizable and proportions are maintained.
Lighting plays a crucial role in how we perceive distortion. The right light can help to reduce shadows and highlights that might exaggerate the warped lines in your images. Soft, diffused light, which can be achieved through natural means like shooting early in the morning or during the golden hour, can help alleviate some of the harsh contrasts that highlight distortion. Alternatively, using reflectors or softboxes can give your subjects an even illumination, allowing for cleaner lines and more accurate representation.
When editing your photos, take advantage of distortion correction tools available in modern editing software. These tools often allow you to adjust the perspective and straighten lines, thus enhancing the overall professionalism of your shots. However, always remember that lighting should remain your first line of defense. A well-lit photo can often require less corrective editing, keeping the integrity of the moment captured intact.
Experiment with different camera settings and lighting techniques. For instance, using a lower ISO can help cut down on noise and maintain the integrity of the image, reducing artifacts that can appear due to distortion. Additionally, playing with angles can be transformative; shooting straight on versus at an angle can yield different results in terms of distortion perception.
Ultimately, understanding the interplay between your camera, optics, and lighting will empower you to take on distortion correction effectively. Every shot presents an opportunity to learn and refine your approach to light manipulation and perspective control. Through practice and experimentation, you’ll find that your photos not only look improved but they also tell a more compelling story. So, grab your camera, find the perfect lighting, and let’s illuminate those shots!